Overview
This web page provides detailed instructions for the installation of Code Composer Studio needed to support the use of the MSP430 Operating Environment and example code provided by this website.
Installation Instructions
To install CCS for MSP430 on Windows, go to the following location, scroll down and click the Download button. and select the download for Windows button. Scroll down again, and select the appropriate installer. These instructions are based on the "offline" installer. Save the CC7.3.0.00019_win32.zip archive, and unzip it. http://www.ti.com/tool/ccstudio
Navigate to the file ccs_setup_7.3.0.00019.exe, right-click on the file, and select Run as Administrator. You will get a User Account Control pop-up window asking for permission. Select Yes.
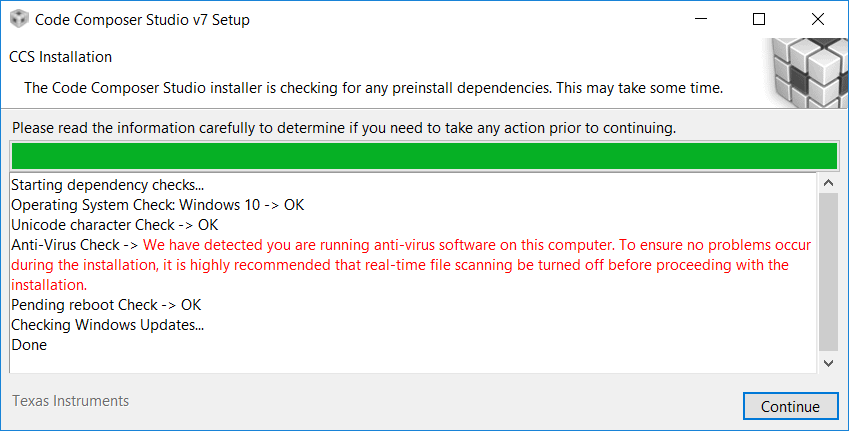
Next, the install will perform several dependency checks. you may receive a notification that anti-virus is running on your computer, with a recommendation that anti-virus be turned off before continuing. Whether you decide to do this is up to you. I installed with anti-virus running. After you make a decision, select Yes to continue.
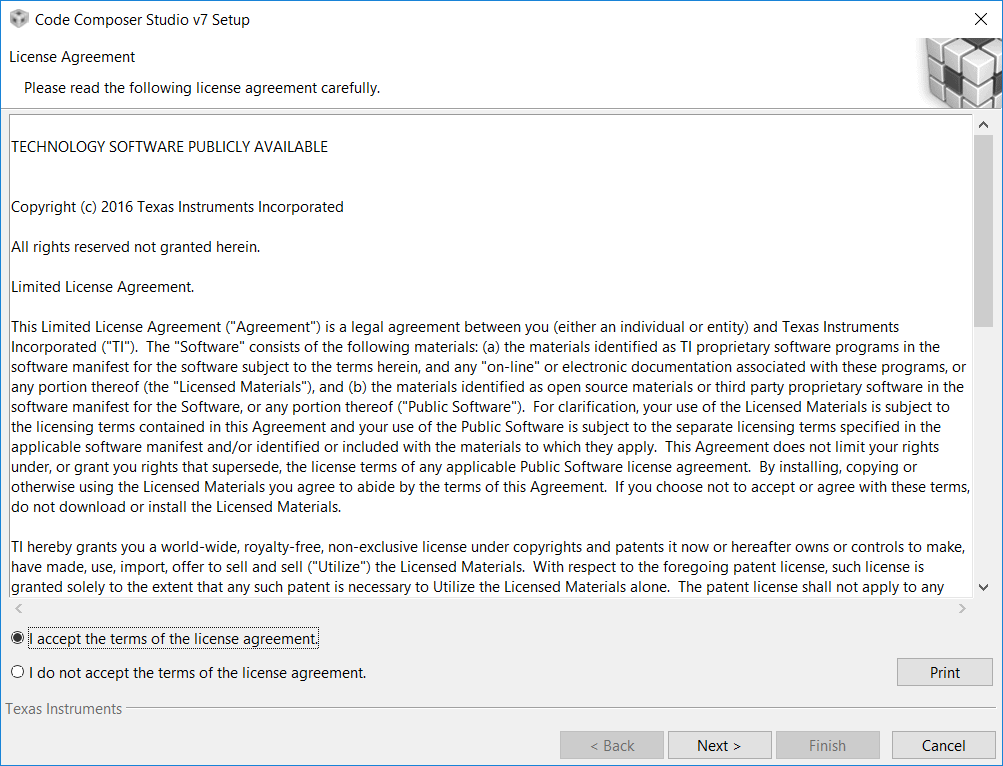
When the license agreement window is displayed, select “I accept the terms of the license agreement” and select Next.
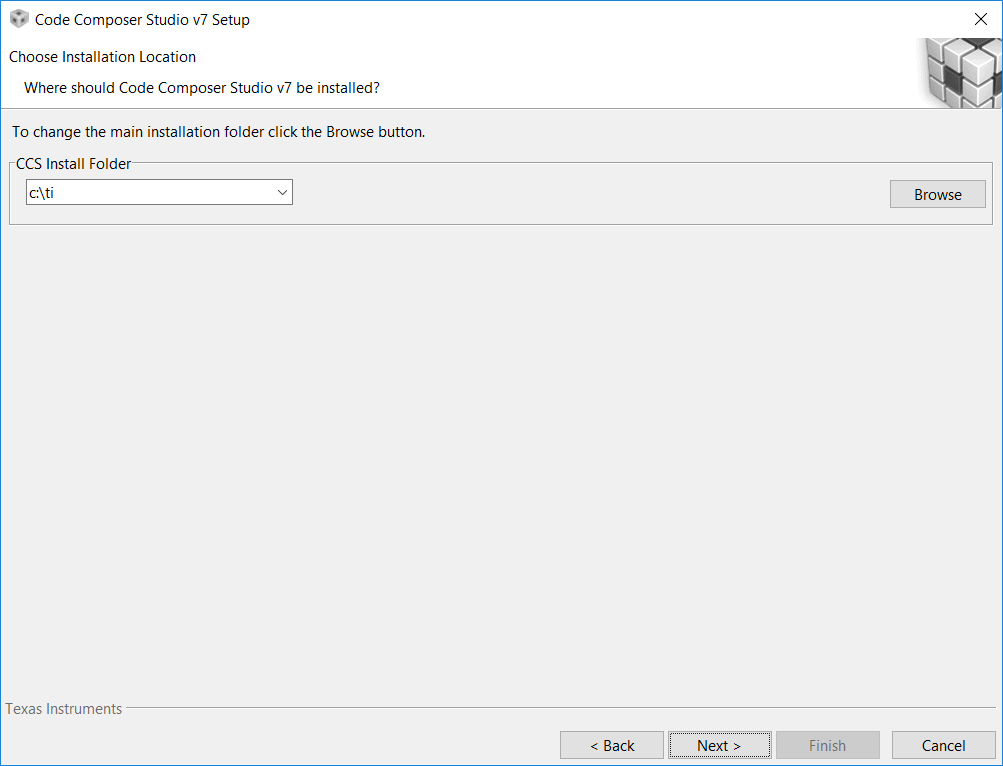
Next you will be asked to select the Installation Location. I would recommend keeping the default location of “c:\ti”. Select Next.
Next, you will be asked which processor support to install. For the purpose of programming the MSP430 family, Select the checkbox next to “MSP430 ultra-Low power MCUs”.

Next, you will be asked which debug probes to install. I recommend keeping the default selection shown below, and select Next.

After selecting Finish, a new window will appear that provides the status of the installation. Once installation is complete, you will get a confirmation of a successful install, and a selection of post-install actions. Leave the default selections, and select Finish.

Opening CCS For the First Time
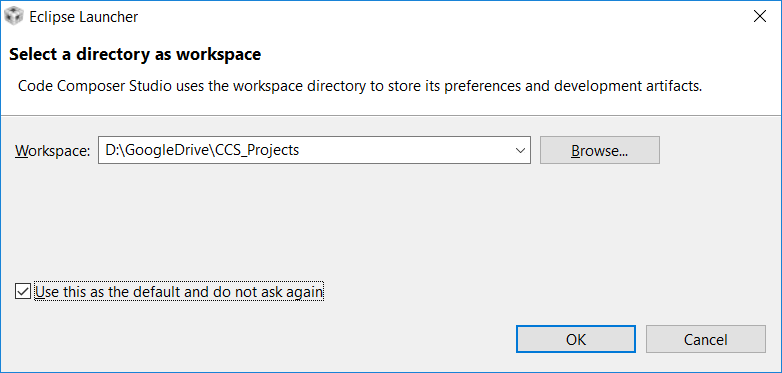
When you open CCS for the first time you will be asked to select a Workspace. What you select here is a matter of preference. However, since each workspace can hold many related projects, and not creating a separate workspace for every project means a lot less time spent on re-applying the configuration, I would recommend creating a generic workspace. In this example, I chose CCS_Projects. That’s very generic. I have also used MSP430F5529LP as the workspace. This is up to you. If you decide later that you don’t like it, it isn’t very hard to create a new one and start over. To keep from being asked which workspace you want each time you start, select the “Use this as default and do not ask again” checkbox.
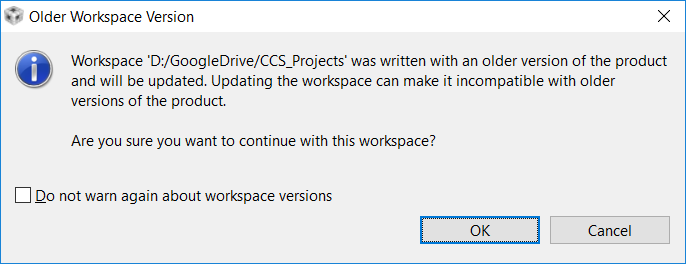
If the workspace selected was written with an older version, a warning will be provided that the workspace will be upgraded, and will become incompatible with older versions. It is highly recommended that the Workspace be copied before pressing OK. Afterwards, select OK to continue.
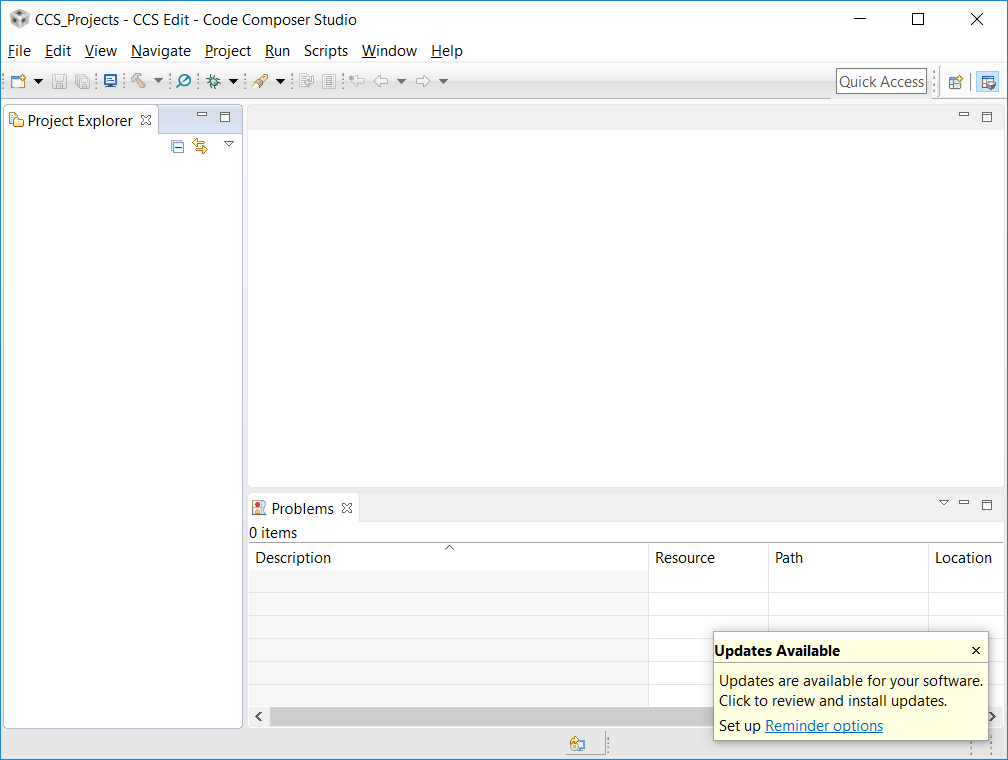
You should see the Code Composer IDE window start-up. You may see some update progress notifications in the lower right status area, followed by a pop-up that there are Updates Available. Click the pop-up, or select Help -> Check for Updates.
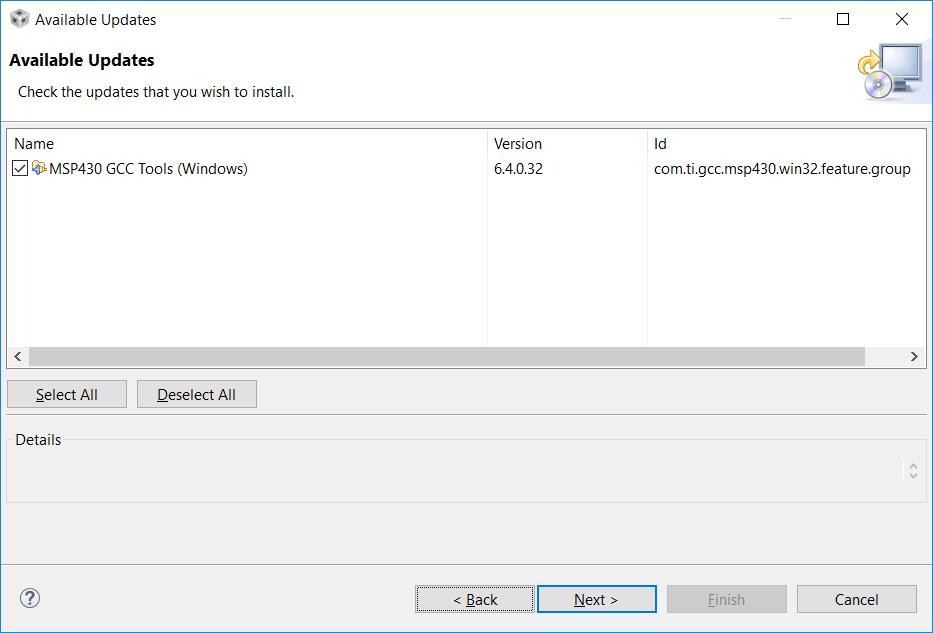
A pop-up window will appear with an available pre-selected update selected for MSP430 GCC Tools (Windows). Select Next to contnue.
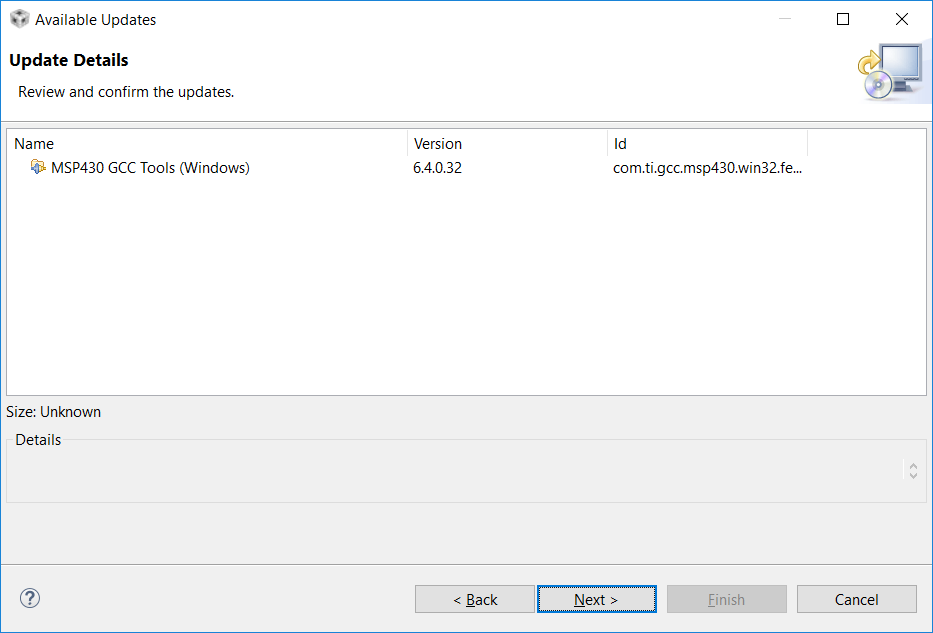
An Update Details pop-up window will appear confirming the selections. Select Next to contnue.
A license confirmation will be provided for the GCC tools. Select “I accept the terms of the license agreement” and select Finish.

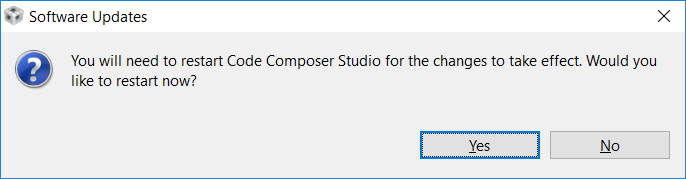
When the Updating Software progress window completes, you will receive a request to restart Code Composer Studio. Select Yes to restart.
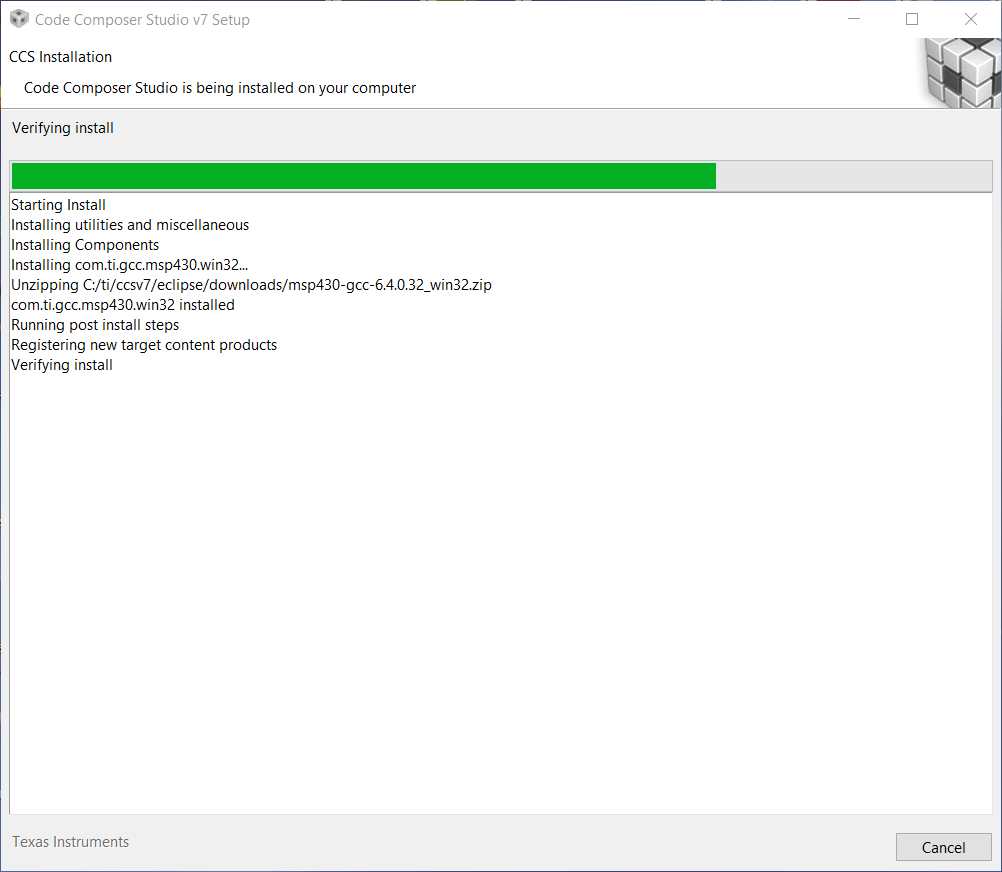
When the installation begins you will be presented with an update window similar to this one. After the installation completes, CCS will restart.
That's it. Once CCS restarts it will contain all of the components necessary to begin making projects with the MSP430 processors, with no code size limitations.